By Lee Mueller on Jan 10, 2020 3:35:45 PM
Placing belting on a conveyor structure without understanding the characteristics of the belt will impair the performance of the system and can lead to problems in the form of belt mistracking, shortened belt life, damaged splices, unscheduled downtime, and additional unplanned maintenance.
Buying conveyor belting is like shopping for school clothes for multiple children. They must be tailored to each individual child to get the best fit. The same is true for conveyor belts - load capacities, lengths, widths, trough angles, and tension should be considered to ensure the belt is the best fit for the structure it will be on.
There are normally two transition zones on each conveyor structure. The first is located starting at the center of the tail pulley shaft and extending to the first fully-troughed idler set at the beginning of the load zone. The second extends from the last fully-troughed idler to the center of the discharge pulley shaft. Oftentimes, I see these distances incredibly shorter than required. A standard rule of thumb is the transition distance should be at least 2.5 to 3 times the width of the belt when in a flattened profile.

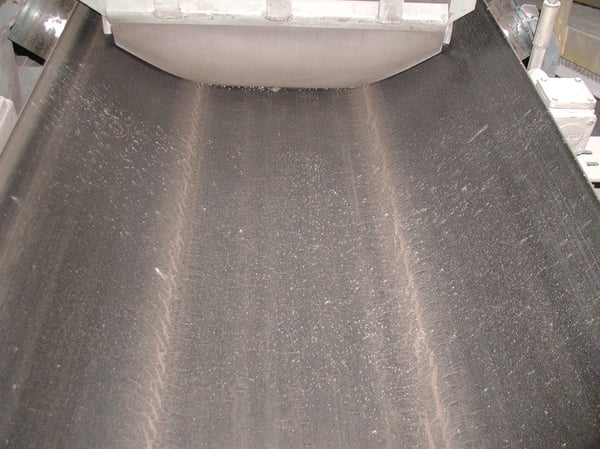
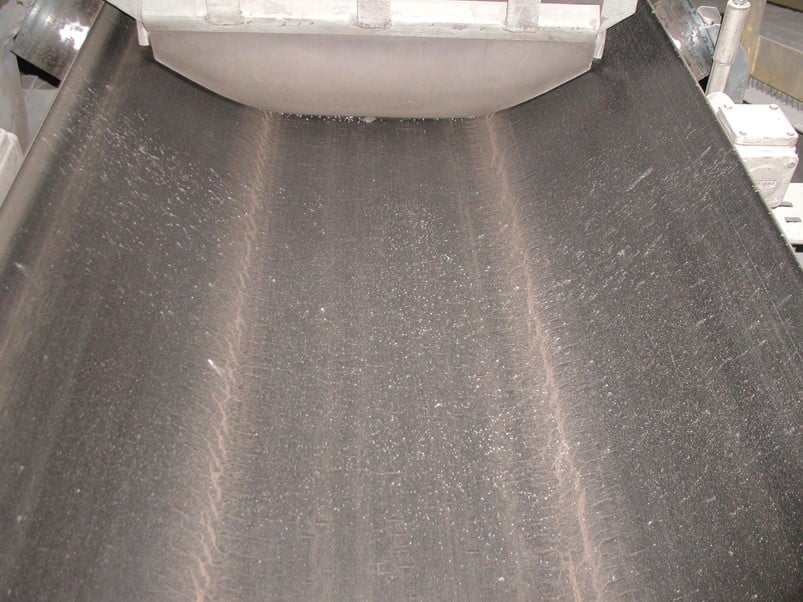
One of the most destructive forms of belt damage is Junction Joint Failure. This damage is caused by forcing the conveyor belt into a troughing angle sooner than the belt is designed to accept it. When this happens, the belt is forced into the space between the angled rollers on each side and the base roller.
This constant flexing of the woven carcass fabric will eventually weaken the belt and cause it to separate into three distinct pieces lengthwise.
When constructing a new conveyor, you should select the belt to match the transition distances. In the case of replacement belting for existing conveyors, the belt should be selected to match the existing transition distances. In either instance, you should consult with the belt manufacturer when determining the proper belt for your transition distance.


comments