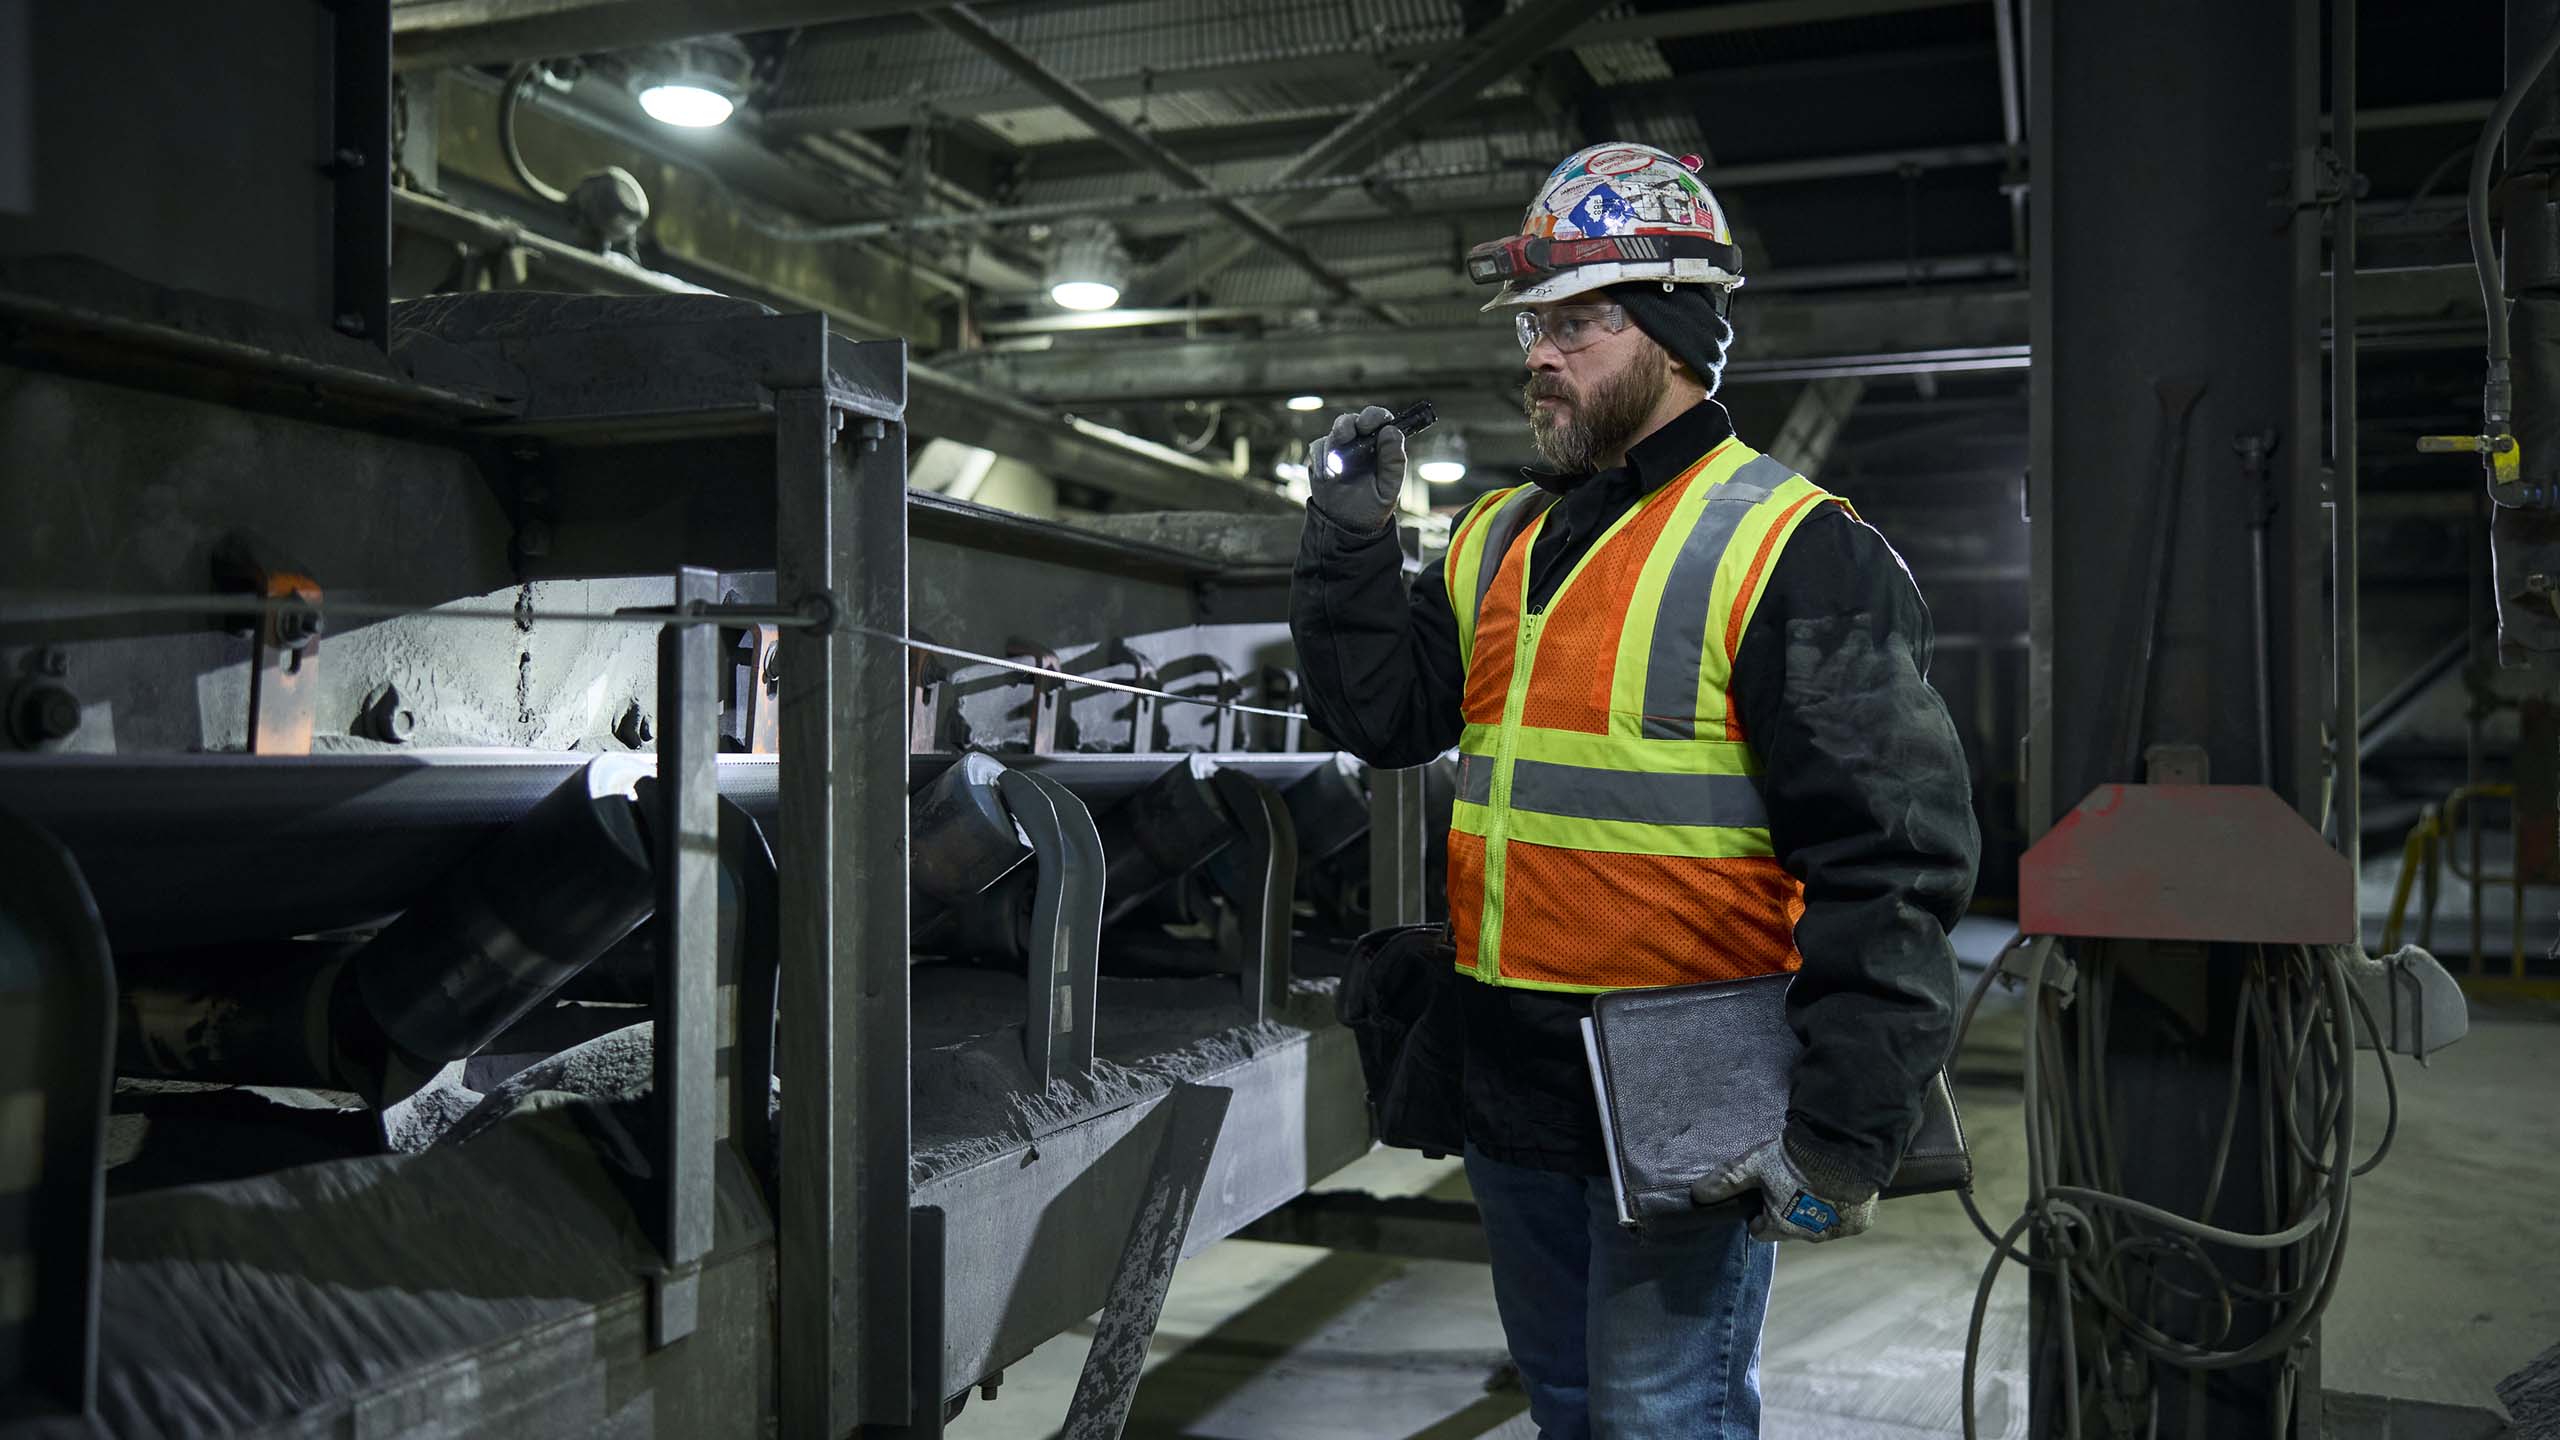
Routine conveyor inspections are one of the most simple and effective tactics of preventative maintenance. Regular inspections of the conveyor belt, structure, and components offer an opportunity to recognize and mitigate problems while addressing the natural wear these parts experience over normal operation.

Left unchecked, this wear and tear will begin affecting the efficiency and safety of the conveyor system with fugitive dust and material spillage causing significant damage to the belt and components, decreased production, health and safety hazards, increased maintenance and parts replacement, downtime, and increased risk for citations from regulatory agencies.
While there’s no bad time to inspect belt conveyor systems, spring is an ideal time to assess the condition of your operation’s conveyors as the season changes and production ramps up. Knowing where to focus your attention and understanding the root causes of common conveyor problems is important. The following 9 points will help you efficiently and effectively inspect your conveyor system and recognize any issues that will affect production, safety, and cost of operation.
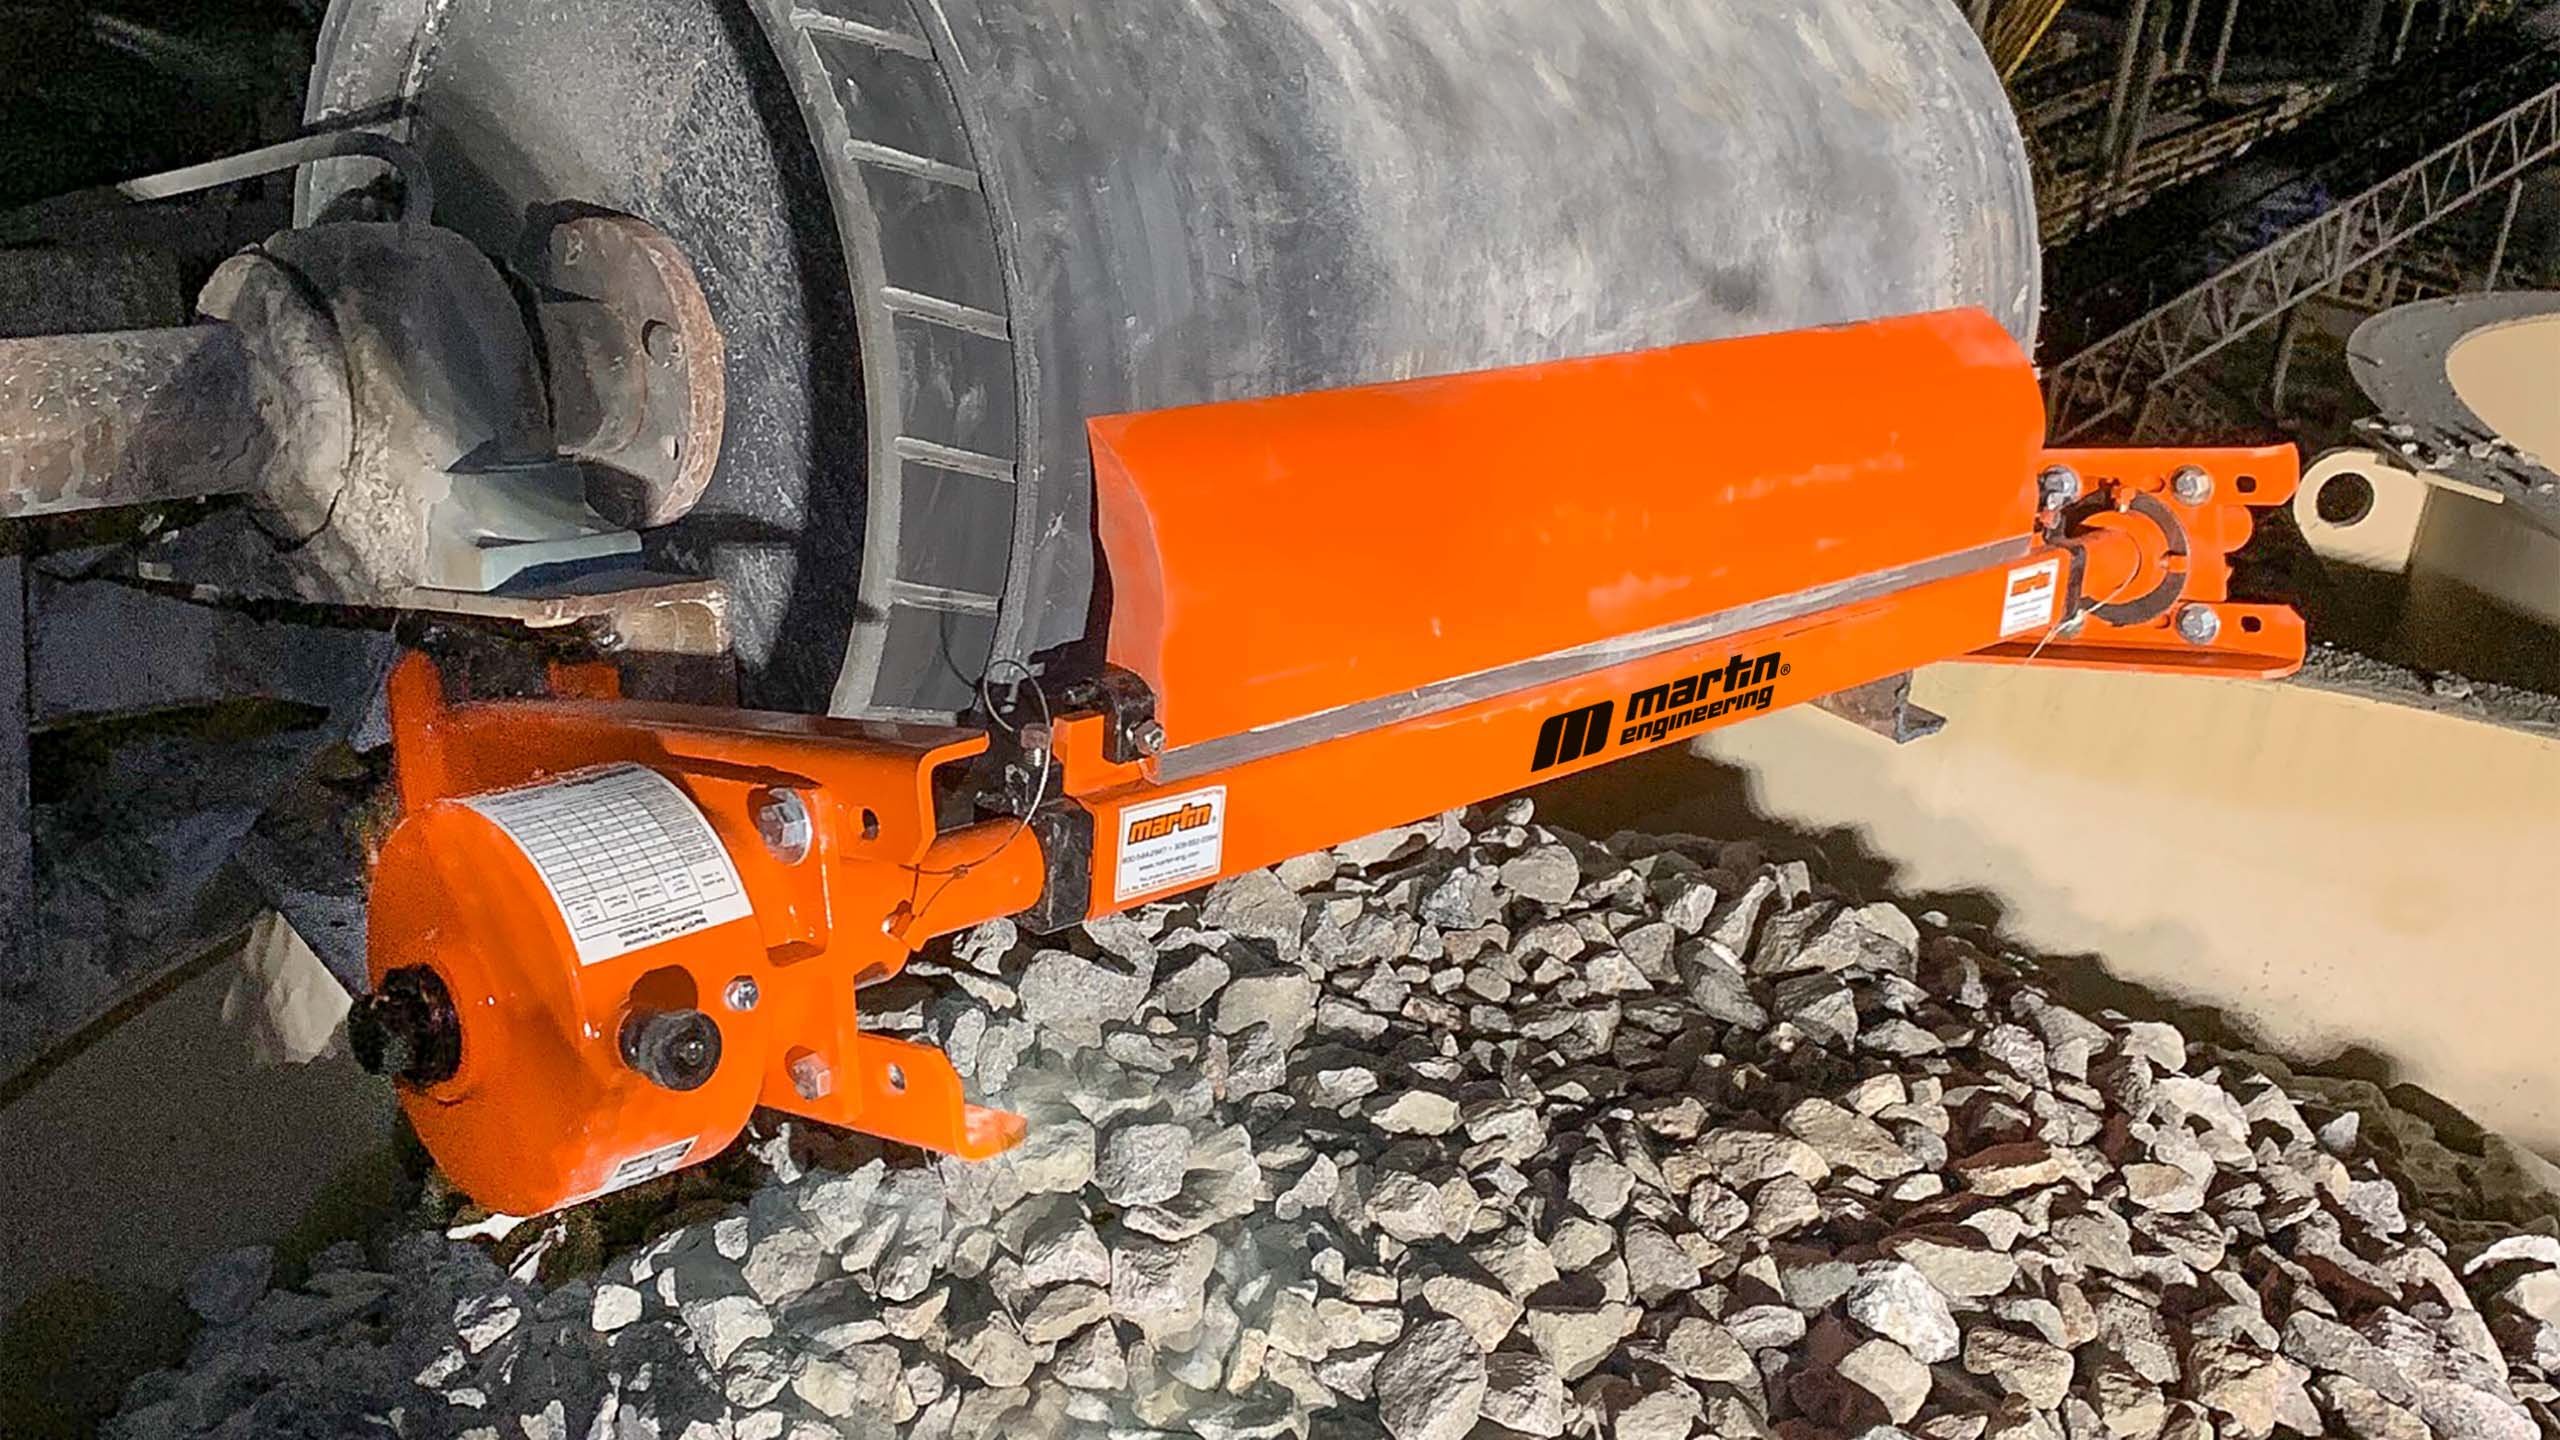
#1. Excessive Carryback
Material that sticks to the belt past the discharge point at the head pulley is one of the most common and consequential problems that plagues conveyor systems. Carryback causes increased airborne dust, seizes idlers and other rolling components, creates trip hazards and housekeeping violations, damages the belt and structure, and requires added time and labor for clean-up.
If excessive material is present on the return side of the belt or if material is building up on rolling components, conveyor structure, walkways, and the ground or floor below the conveyor, action is needed.
If belt cleaners are installed:
- Check the condition of blades and replace if worn or damaged
- Check the condition of mainframes and replace if bent or damaged
- Ensure blades are properly tensioned
- Consider adding secondary belt cleaners if not installed
 If belt cleaners are not installed, consider working directly with a manufacturer to determine the most effective belt cleaning solution for your material, belts, and conveyor systems to ensure proper installation and maintenance.
Root Causes:
- Sticky/wet material
- Fine/flaky material
- Poor belt surface conditions
Best Practices:
- Installation of urethane primary belt cleaner in the 3 o’clock position
- Installation of one or more tungsten carbide secondary cleaners in the 6 o’clock position
- Properly vulcanize or skive and dress mechanical splices
- Perform bi-monthly inspections and maintenance
- Work directly with a manufacturer to ensure the correct sizing and installation of belt cleaners

#2. Head Pulley Lagging Damage
Head pulley lagging wears over time, and excessive erosion can lead to belt slippage which incurs unnecessary wear and tear. When the lagging wears unevenly, it can cause further problems. Unevenly worn head pulley lagging inhibits effective belt cleaning due to uneven blade-to-belt contact. The uneven surface can also cause the belt to mistrack.
Inspect head pulley lagging to ensure that excessive or uneven wear isn’t the root cause of other problems recognized along the conveyor system. If the lagging needs to be replaced, address this issue before replacing belt cleaners or addressing belt misalignment problems further down the belt.
#3. Belt Damage
The belt itself is the most expensive and critical part of a conveyor system. A belt that is dirty, in poor condition, or damaged will have a negative and consequential impact on the system’s performance. Therefore, protecting the belt is of the utmost importance. Signs and symptoms of belt damage must be recognized early to avoid costly and potentially catastrophic problems.
![]()
Belts can be damaged by several factors and present itself in several ways. It’s important to know how to properly identify and correct the mechanism behind the type of damage observed:
- Impact damage caused by large or sharp material colliding with the belt
- Entrapment damage caused by material lodged between the belt and skirting
- Belt edge damage caused by belt mistracking, off-center loading, or material accumulation
- Belt delamination caused by excessive tension or foreign materials
- Worn top cover caused by material abrasion or weight
- Rips and grooves caused by foreign objects
- Belt cleaner damage caused by improperly installed or poorly-maintained belt cleaners
- Top cover cracking caused by a belt not matched to the system’s pulleys
- Heat damage caused by hot materials
- Junction joint failure caused by insufficient trough angle transition distance
- Belt cupping caused by heat, insufficient transition distance, too severe of trough angle, or improper belt aspect ratio
- Belt camber caused by improper belt storage

Root Causes:
- Belt selection based on pricing rather than system requirements
- Dust, spillage, and carryback building up on components
- Conveyor design shortcomings
Best Practices:
- Selecting the right belt for the application
- Diagnose belt failures and change the belt specification for the future
- Contain fugitive material to prevent dust and material getting into components
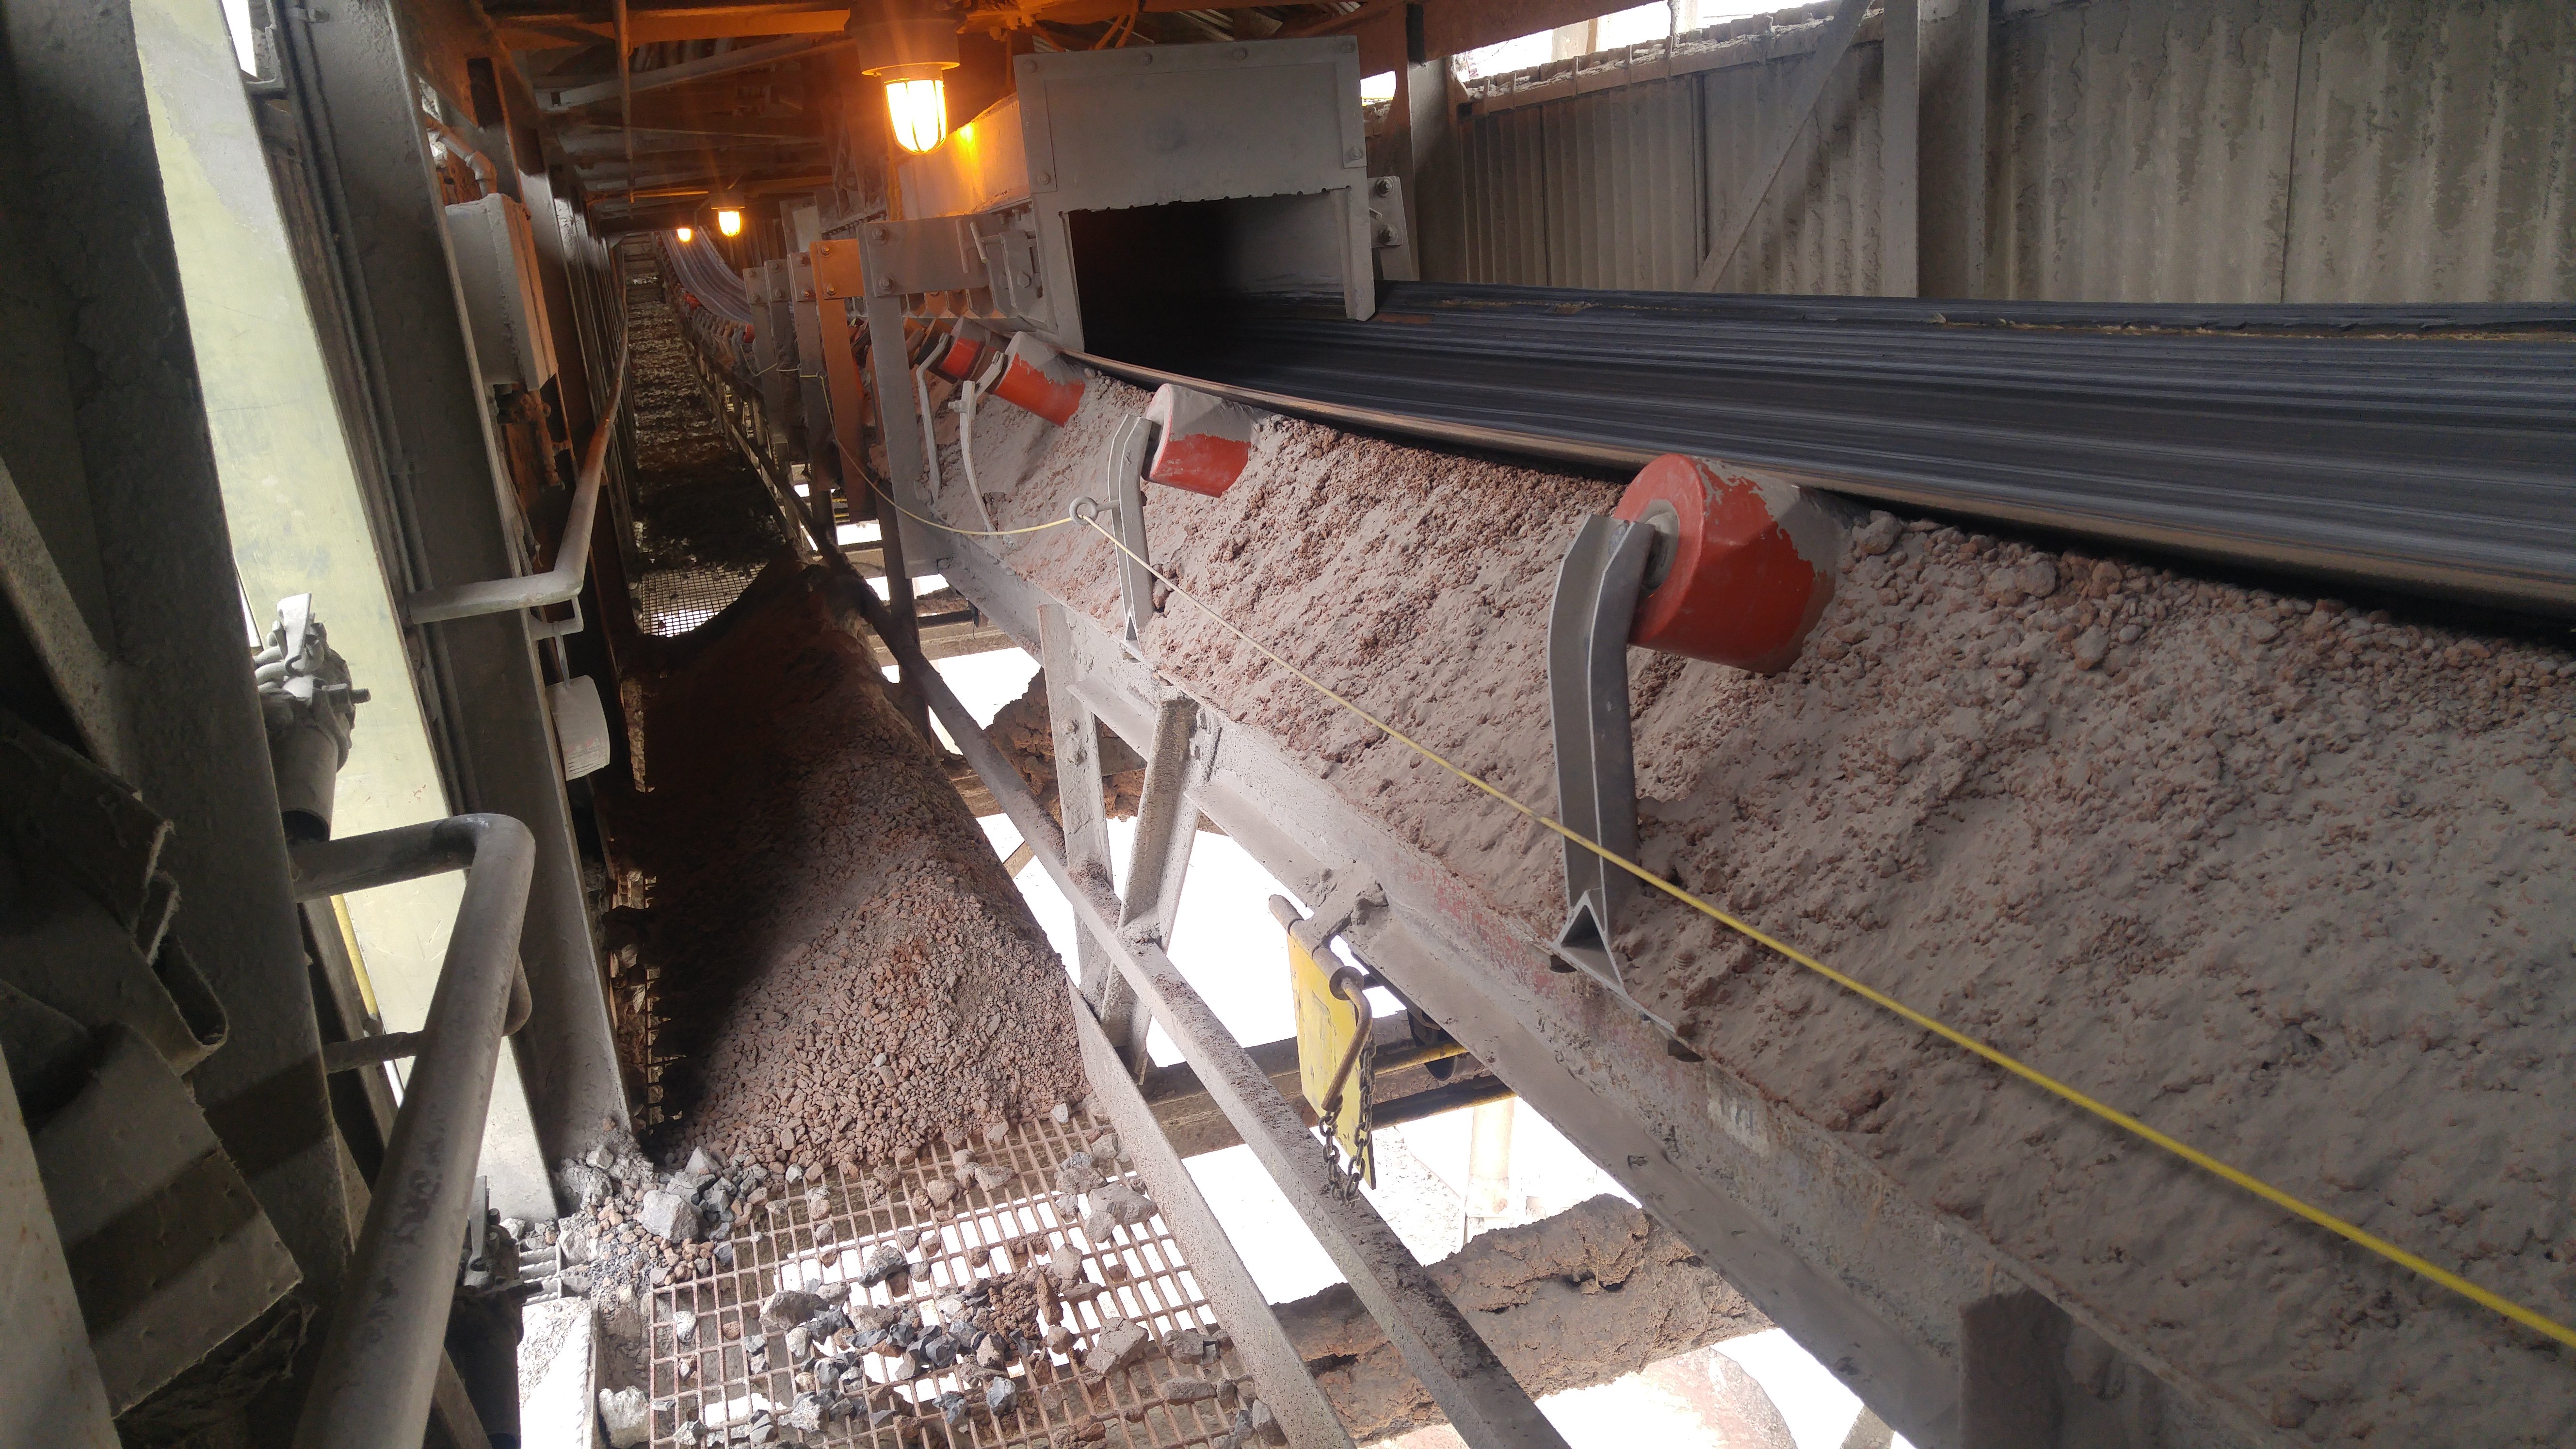
#4. Seized Idler(s)
When rolling components like idlers seize and no longer roll with the belt's movement, friction and drag are created, resulting in bearings failure, excessive top cover wear, and belt misalignment.
It’s important to understand and keep in mind that all rolling components steer the belt. When those components seize and no longer roll freely, they become a common cause of belt wear and mistracking.
For rolling components to steer the belt correctly and maintain proper alignment, they must be four things:
- Clean
- Rolling
- Aligned
- Touching the belt

#5. Belt Mistracking
Belt misalignment is another very common problem that greatly affects conveyor system performance, condition, and safety. Belt mistracking causes material spillage leading to safety hazards, lost production, increased maintenance, and housekeeping violations.
Mistracking belts may run against brackets and support structures, damaging the belt edge and eventually cutting through them creating the potential for components to fall from the conveyor and holes for further material spillage to escape.
Belt tracking devices or idlers that have been tied-off to other components or nearby support structure are tell-tale signs of two things: belt misalignment and an ineffective attempt to correct that misalignment.
If belt misalignment or the damage caused by this condition is observed, effective corrective action must be taken to improve the conveyor system and mitigate further damage and hazards.
![]()

Adjustments to components in the low-tension areas have the highest impact on correcting the path of the belt. By identifying and starting in the low-tension areas, the process to correct belt misalignment can have the greatest impact with the least number of changes.

Root Causes:
- Structure and pulley misalignment
- Incorrect splicing procedure
- Improper belt storage
- Over-tensioning of the belt

Best Practices:
- Keep material from building up on return rollers by cleaning belts properly
- Be sure structure and terminal pulleys are square and aligned
- Prevent off-center loading
- Low-tension rollers should only be adjusted by ⅛-in. (3mm)
- Tracking devices should be spaced 50-70 feet apart and installed before the discharge point, before the belt enters the tail pulley, and before/after bend pulleys.
#6. Mechanical Splices Needing Repair
A conveyor belt’s mechanical splices should be inspected every so often to ensure that they remain in good condition. Over time, mechanical splices can loosen, and care should be taken to check that these splices maintain their grip through the entire body of the belt.
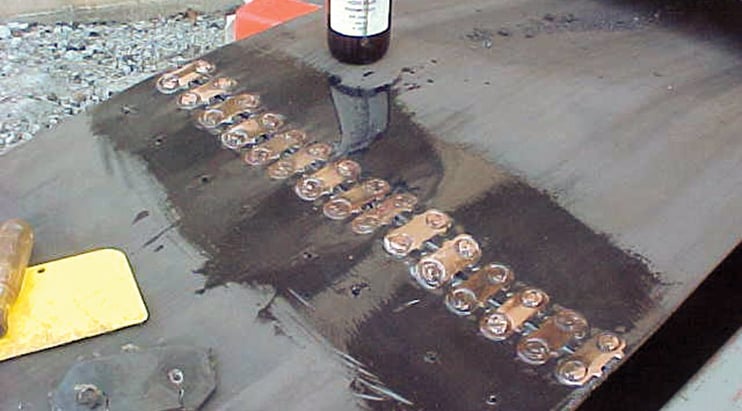
If mechanical splices are not properly dressed and flush with the surface of the belt, they may interfere with belt cleaners that don’t include a shock ring inside the tensioner and belt sealing systems causing damage to belt cleaner blades and belt seals, resulting in carryback, dust, and spillage.
Splices that rise too far above the surface of the belt should be ground down and bad splices threatening to damage other components should be replaced.
#7. Off-Center Loading
Off-center loading of the conveyor belt, most common on non-linear transfer points where the material’s direction of travel is changed, causes material to load onto the receiving belt unevenly. This imbalance causes greater friction against idlers on one side of the conveyor, causing material spillage at the load zone and leading to belt mistracking and the myriad problems associated with it further down the belt line.
/topic-image-gallery_new-dims_off-center-loading.png?width=640&height=360&name=topic-image-gallery_new-dims_off-center-loading.png)
Off-center loading can also be caused when transfer chutes become blocked by material build-up. This can occur because of changes in material such as excessive moisture, or because of excessively large particles. Changes in belt speed can also lead to a shift in the flow and trajectory of materials through the transfer chute.
Though a common solution, belt tracking systems are limited in their ability to counter the effects of off-center loading. A more effective approach is to combine these belt trackers with deflectors or flow aids within the loading zone, helping to correct issues with both loading and mistracking. Fixtures such as deflectors, liners, baffles, shapers, screens, grizzly bars, and rock boxes can be installed within the chute to help direct the flow of material and provide a more balanced loading pattern.
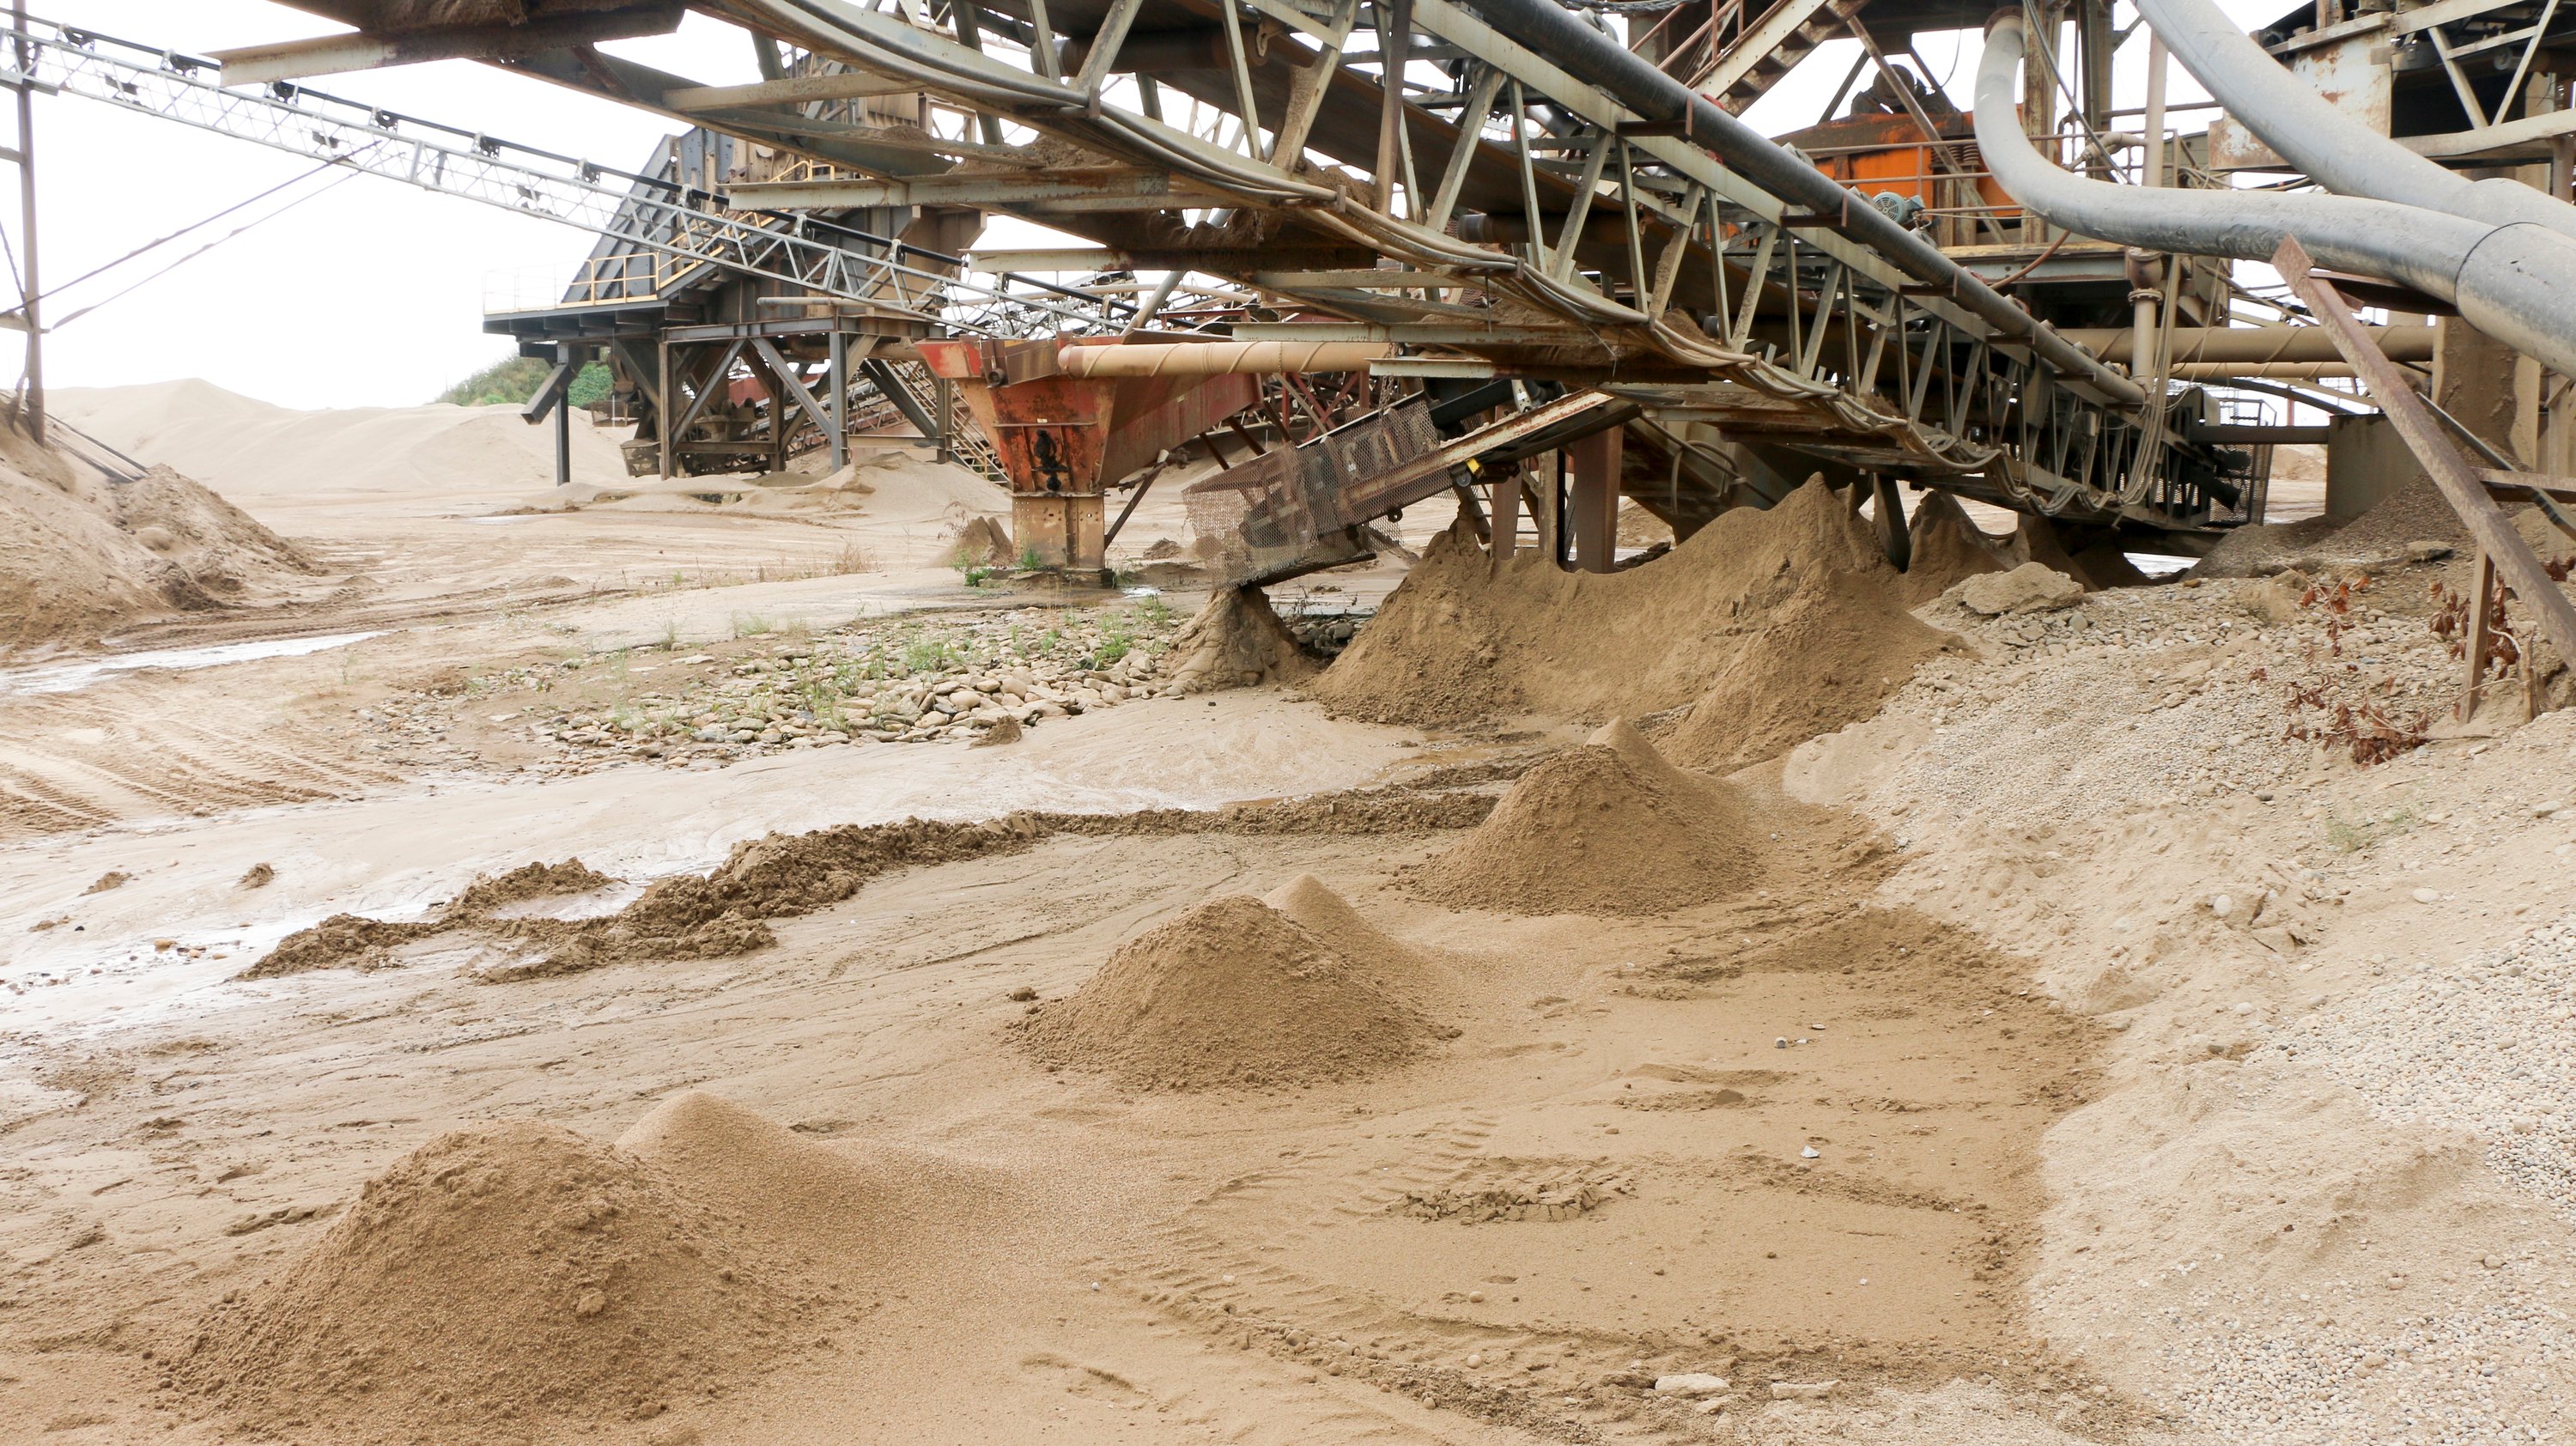
#8. Dust & Spillage At The Transfer Point
Fugitive material at belt conveyor transfer points is another all-too-common problem that significantly impacts the productivity, safety, and cost of operation of conveyor systems. Material escaping the transfer point can take the form of either airborne dust or spillage.
As previously mentioned, off-center loading and blockages can lead to material spillage. Overloading the belt and exceeding the belt’s capacity can also add strain to the belt, chutes, and sealing and support systems, resulting in spillage. Poor transfer point design, changes in belt speed, and loading a misaligned belt can also impair proper material flow and containment.

If airborne dust and material spillage is observed at a transfer point, corrective action must be taken to avoid damage to idlers, the tail pulley, and support structure and to eliminate health and safety hazards that result in the need for clean-up or housekeeping violations.
.jpg?width=3500&height=2625&name=Dust%20transfer%20point_300dpi(3500x3000).jpg)
Significant steps to mitigate dust and spillage at transfer points involve ensuring proper belt sealing on the top side coupled with adequate belt support from below. Proper belt support is critical in maintaining a stable belt line to allow an effective seal to contain dust in the loading and settling zone. Wear liners and sealing systems should be inspected to ensure they’re not worn and in need of replacement.

A properly designed settling zone is necessary to provide airflow an opportunity to slow down after moving the through transfer chute and allow airborne dust to settle back into the material stream.
The addition of a tail pulley protection plow ensures against stray lumps of material from entering the pulley on the return side of the belt and damaging both the belt and the face of the pulley. When inspecting belt damage, consideration should be given to the potential of fugitive material at the tail pulley.
Root Causes:
- Overloading the belt
- Exceeding the belt’s capacity
- Transfer point design flaws
- Wet, sticky material building up on the inside of the transfer point, eventually forcing material to overflow from the top
- Influx of air as the transfer point loads with material
- Material degradation increases small fines
- Poor transfer point design for current production expectations

Best Practices:
- Keep the material flow in line with the receiving conveyor
- Make sure skirtboards are installed high enough to contain the material yet low enough to maintain contact with the surface of the belt
- Make sure the receiving belt is tracking properly before loading
- Tailboxes should be installed to prevent material rollback
- Install plugged chute detectors
- Support the belt the entire length of the chutewall so it doesn’t sag away from skirting
- Protect rubber skirting with an abrasive-resistant steel wearliner
- Install belt skirting to seal air
- Utilize dust suppression and collection only after containment has been achieved
- Slow the exiting air velocity to under 200 FPM with a dust curtain

#9. Visible Hammer Rash On Hoppers Or Chutes
Visible damage and scarring from hammer strikes on hoppers and chutes, commonly known as hammer rash, indicates material flow issues that are inhibiting the full design capacity and productivity of a material handling system. Not only is banging on these walls ineffective, but it also usually contributes further to the problem over the long term by distorting the inner surface of the wall and creating imperfections for material to cling to and more effectively build-up on.
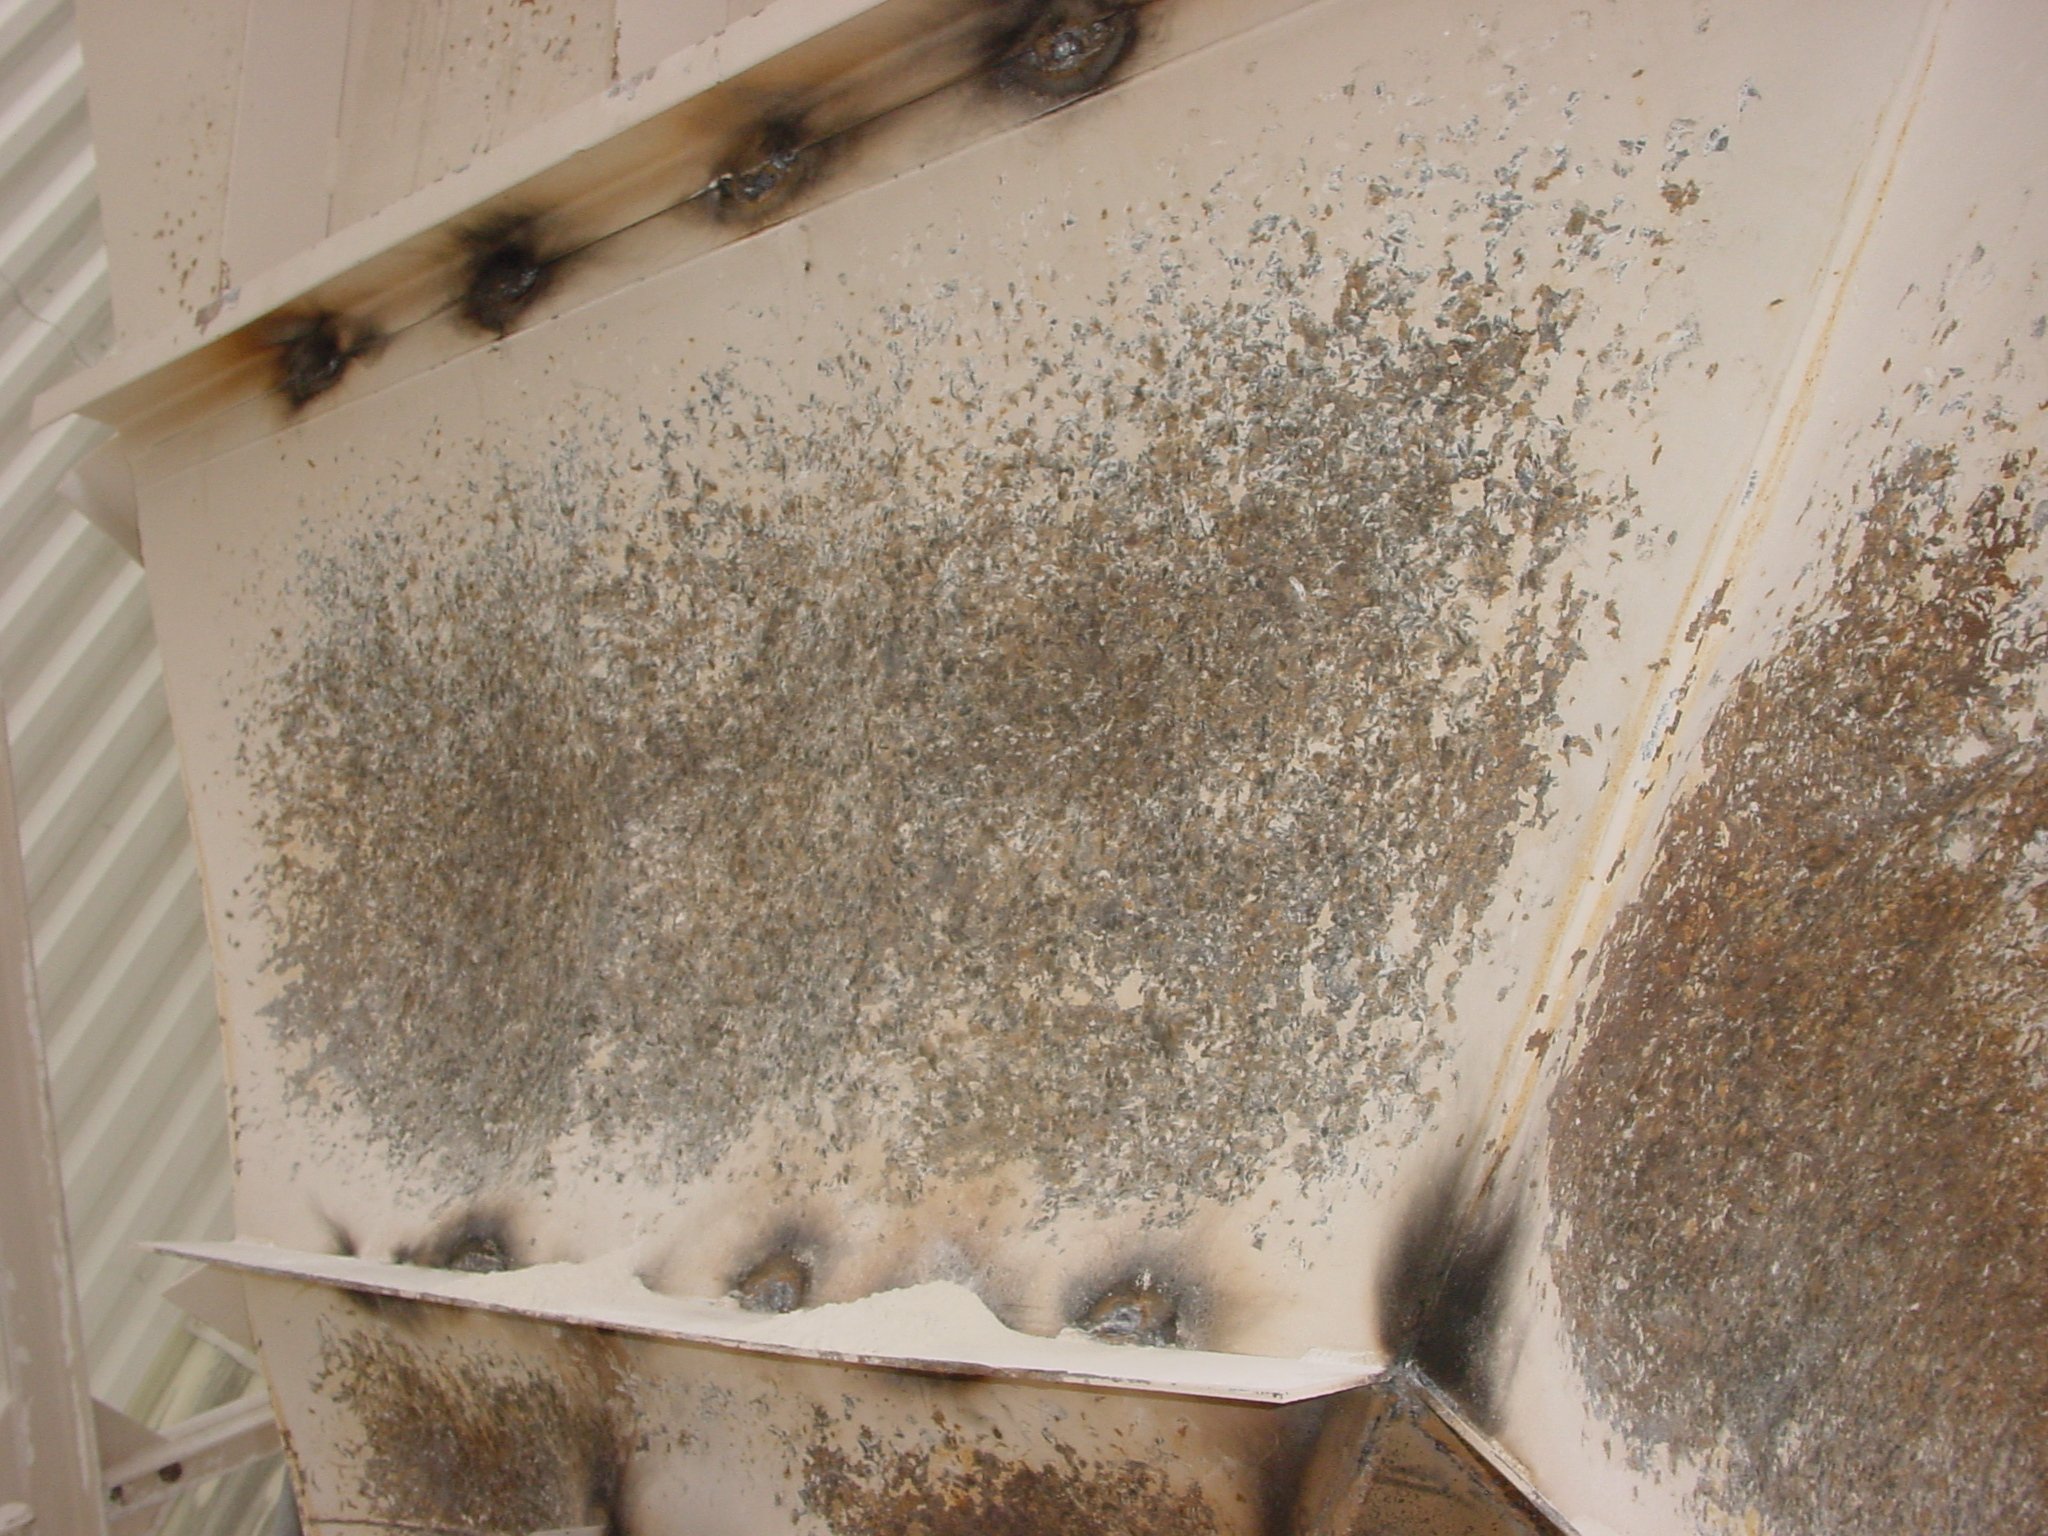

Often, operations aren’t aware of build-up or blockages until material is seen spilling out because the internal problem isn’t visible from the outside. Manage, monitor, and maintain chutes and hoppers to avoid unforeseen problems and downtime caused by material flow issues.
Root Causes:
- High material moisture percentage
- Change in material trajectory
- Redesigned chute to get more/less flow from original plan
- Changes in process such as belt speed, type of material, etc.
- As walls get beat up and rusted out, material will flow less efficiently
Best Practices:
- Utilize vibration and/or air cannons to assist with and ensure proper material flow
- Routinely manage, monitor, and maintain bins
- Properly design chutes according to belt speed, material type, and cargo volume to encourage evacuation of all material
- Line the hopper to prevent material from sticking to walls
- Properly select flow aid solutions to match the material and nature of build-up
When it comes to spring cleaning or seasonal work/inspections, I always prefer to make a to-do list where I can prioritize my tasks in order of importance (or in order of my wife's preference - you know how Honey-Do lists work). By adhering to a list of critical chores, I will ensure that I don't accidentally neglect any work - causing detrimental consequences. I hope the next time you are gearing up to do a conveyor inspection, you will remember and refer to this critical "to-do list."
comments